Preserving Your Own Heirloom Recipes
How to Record Your Family Recipes - Extra Food Chat with Kath
Welcome to another edition of Extra Food Chat with Kath!
This week I thought I would share some tips on how to record and preserve your own family or heirloom recipes. I’ve learnt a bit along the way when trying to preserve our family recipes, so I hope what I have to share will be helpful to you.
Preserving family or heirloom recipes means you will be easily able to share them with other family members or friends, as well as pass them down to future generations in good condition.
It also means they are more accessible and useable for you to bake from whenever you please, connecting to the memories of the person whose recipes they originally were, and the memories you may have of them and their food.
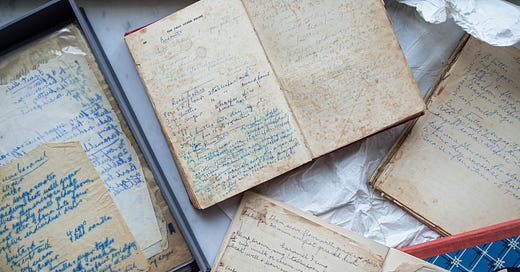
I have many recipes handwritten by my Grandma, and to be honest most of them are things I don’t recall her making. By the time she died, I already had copies of the recipes I loved and made often (shortbread, pavlova and oatmeal biscuits primarily!), as I had been making them with her, and on my own since I was a child.
Deciding to preserve all these recipes, even if I had no memories of Grandma attached to them specifically, just felt like still preserving parts of her that I felt compelled to keep. There would be no more birthday cards and new recipes in her handwriting, but keeping this collection of recipes felt like a way of keeping her with me, in the arena (food and cooking) that we connected on most.
Whatever your motivations for preserving and recording family or heirloom recipes are, I hope you will find some helpful advice in this post.
Preserving Recipes
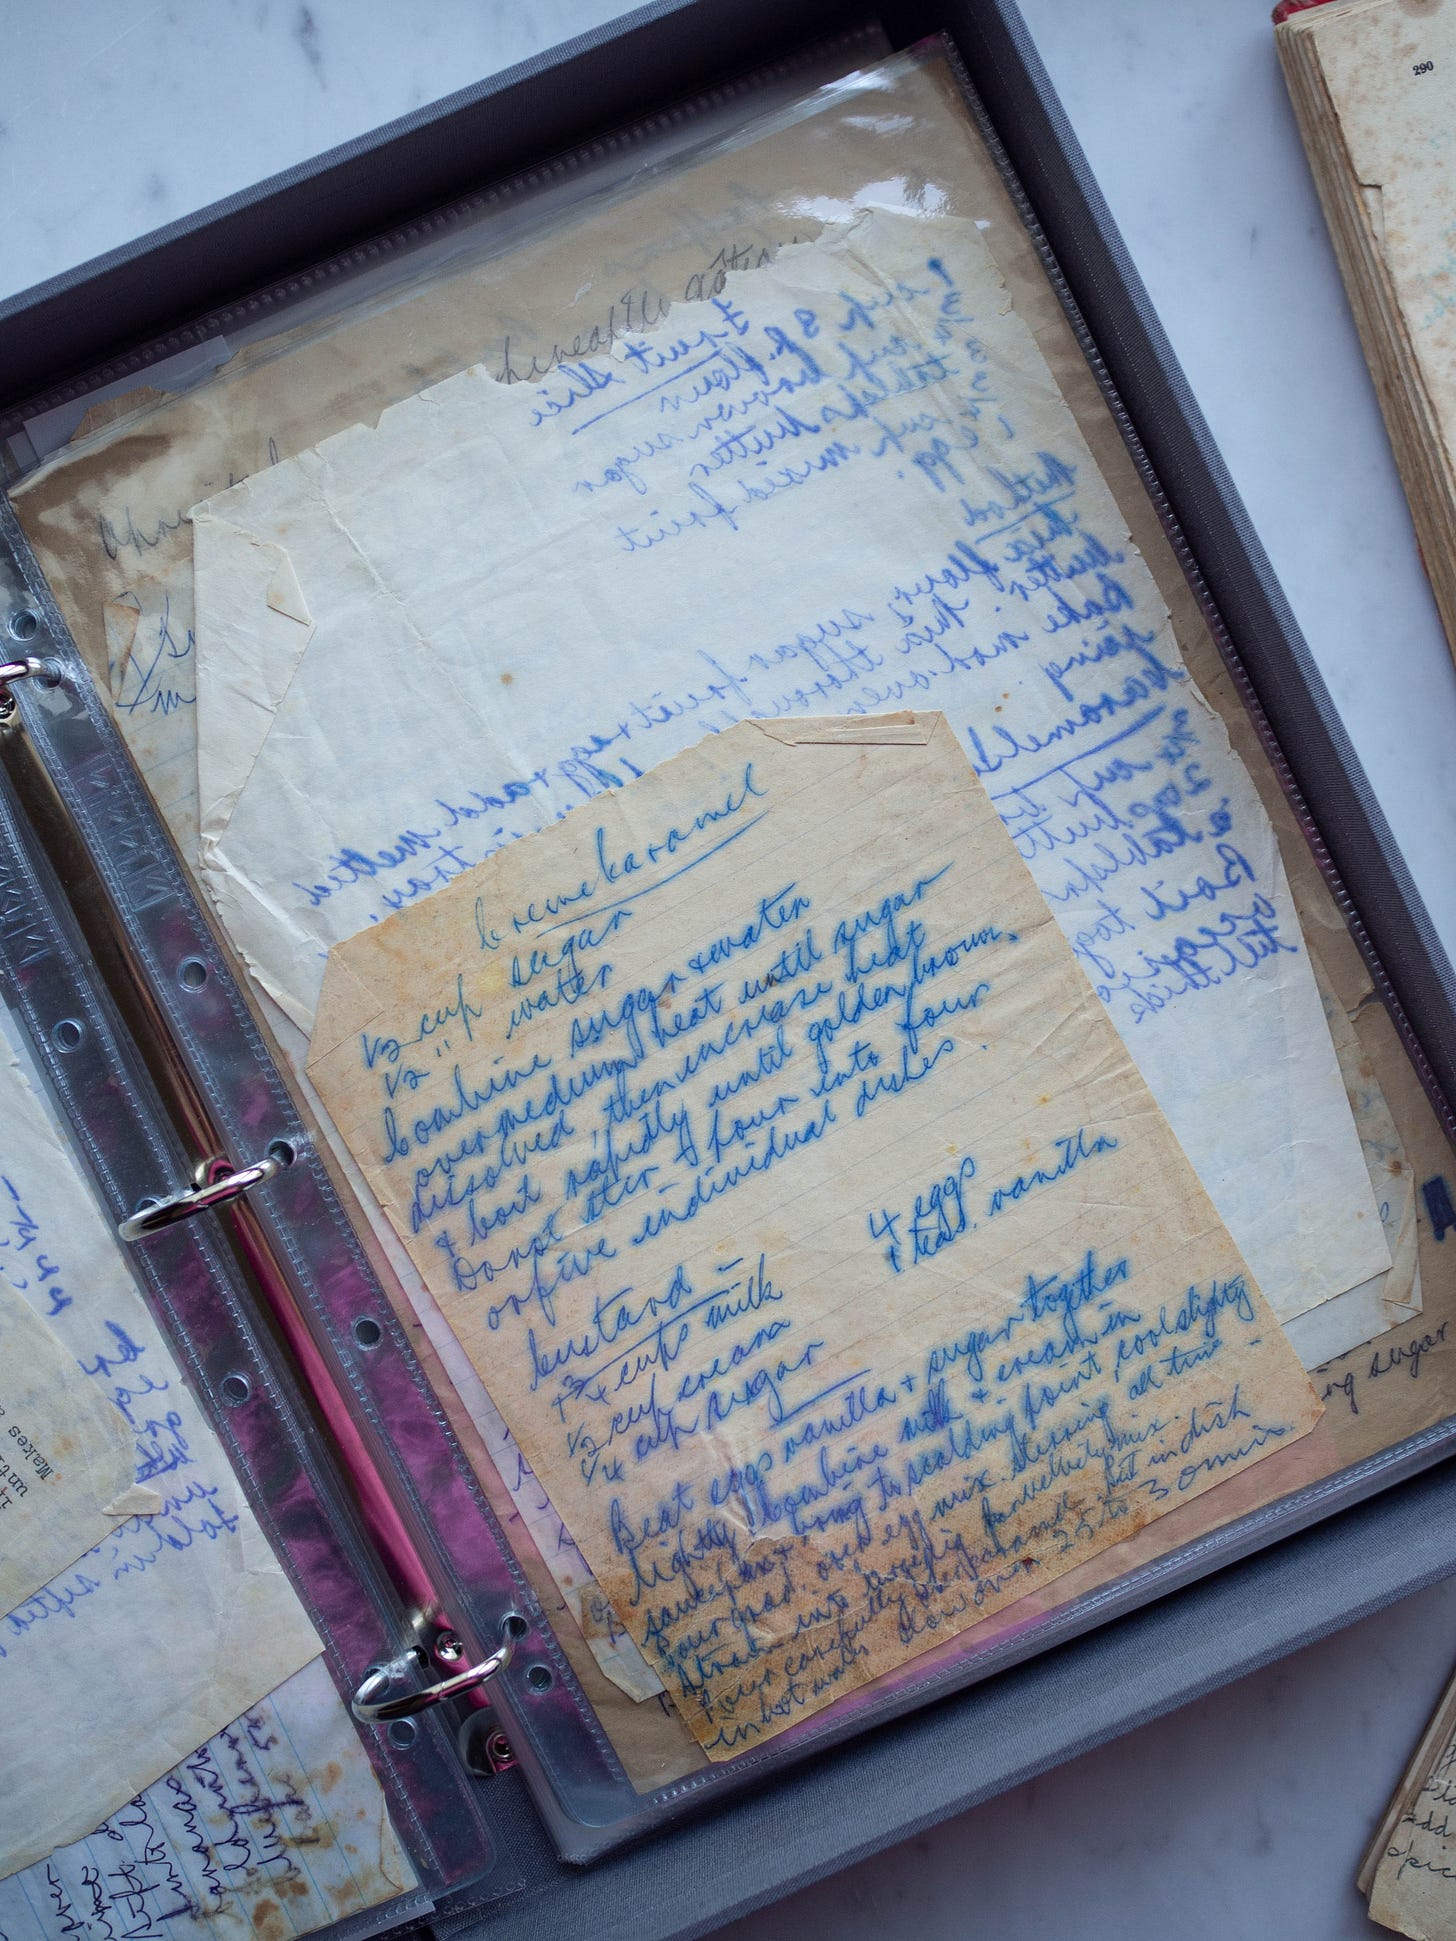
Store older handwritten recipes in a place away from dust and light, probably away from the kitchen (somewhere they are unlikely to get damaged!). A folder like I’ve used in the image above, where everything is stored in plastic sleeves will help preserve the old paper and ink. I wouldn’t recommend glueing/taping recipes into new notebooks or similar as overtime the glue or sticky tape my damage the paper.
Take photos of these recipes so you have a digital copy as back up. I used my iPad to take photos of everything and made sure the images were as clear as possible. Take the photos in good natural light (not artificial light), and if using an Apple device, tap the centre of the screen or exactly where on the image you want the camera to focus to ensure a clear shot. Take the recipes out of any plastic sleeves or similar you may be storing them in, as they plastic may create a reflection in the image.
You can also change you phone/ipad camera settings to show a grid and a level on your screen so you can ensure your image is centred and level (great for top down images which photos of recipes/documents usually are). Go into the settings app in your phone/ipad, tap on camera and under composition you can toggle over the grid and level options so they are green. You will then see the grid over your screen when taking images, and when using the camera in a top down position, you can align the white plus sign over the central yellow static plus sign to have a level top down shot.
Typing out or rewriting recipes in a separate notebook or similar are also great ways of preserving recipes, in a way that makes them easier to use without damaging the original.
If you make changes to the recipe, record it separately (if you don’t want to write over the original) with a note about where the recipe came from. I absolutely will not write over any recipe my Grandma or another family member has written out. I want to preserve it exactly the way they left it (the student of history in me can’t tamper with the first hand evidence!). I type the recipe out and then make changes as I go as to altering quantities, cooking times, baking tin sizes and additional ingredients as necessary.
After the paywall I give you tips on how to test and record your heirloom recipes.
Sign up to become a paid subscriber to get access to all posts like this one (you can see a preview of what you are missing here), and support my work. I’d love to have you as part of this small baking, recipe and cookbook loving community.
Keep reading with a 7-day free trial
Subscribe to Kulinary Adventures of Kath to keep reading this post and get 7 days of free access to the full post archives.


